This article will tell you:
– how to cover streaks on walls and ceilings,
– how to even out a poorly coated substrate,
– how to repair paint cracks,
- how to make sure that touch-ups to a recently painted wall will not be necessary.
Touching-up recently painted walls and ceilings – streaks
Steaks usually appear when:
- the paint is too diluted,
- the roller is wrong for the type of paint and substrate – the pile is too long,
- the paint was applied unevenly, or the paint coat was too thick,
- if spray painting, the pressure was too high or the machine was used for too long without a pause,
- previous streaks were not painted over properly.
If streaks have appeared on a wall or ceiling, there is only one effective solution – repaint. In order not to aggravate the defects and to cover the entire wall or ceiling evenly this time, rub the surface with 100-120 grade sandpaper. After sanding, be sure to dust off the substrate before applying paint. Another equally effective way is to use a ready-made joint compound, which allows one to obtain a perfect substrate for further finishing works.

To avoid further touch-ups to a recently painted ceiling or wall, try not to make the above mistakes.
Touching-up recently painted walls and ceilings – poorly covered substrate
Old coatings showing through or light patches on a wall and uneven substrate coverage are some of the most common results of incorrectly applying paint or preparing a wall for painting. Such defects usually occur when:
- the given wall or ceiling was not primed correctly – the primer used was unsuitable for the substrate – e.g., the wall was non-absorbent, and the used milk primer worsened its absorbency, resulting in poor paint application.
- the wall was not primed before painting, e.g., when no primer emulsion was applied to a dark substrate and you want a light colour on the wall without the old colour showing through,
- an intense colour wall was painted with a lighter paint, without an intermediate layer which would prevent the old paint from showing through,
- the roller was not suitable for the given substrate,
- the paint was too diluted.
If the wall or ceiling is not evenly covered, apply another coat of paint. Think what might have gone wrong before and eliminate those mistakes.

Cracks on a painted wall
The most common reasons for paint on walls to crack are:
- an unseasoned substrate – a new wall or a new ceiling – was painted before 4 weeks elapsed after completion of construction works,
- the substrate was damp,
- the paint was applied too thickly, and cracks appear in the form of spider veins,
- the wall substrate is defective and cracks as the building settles.
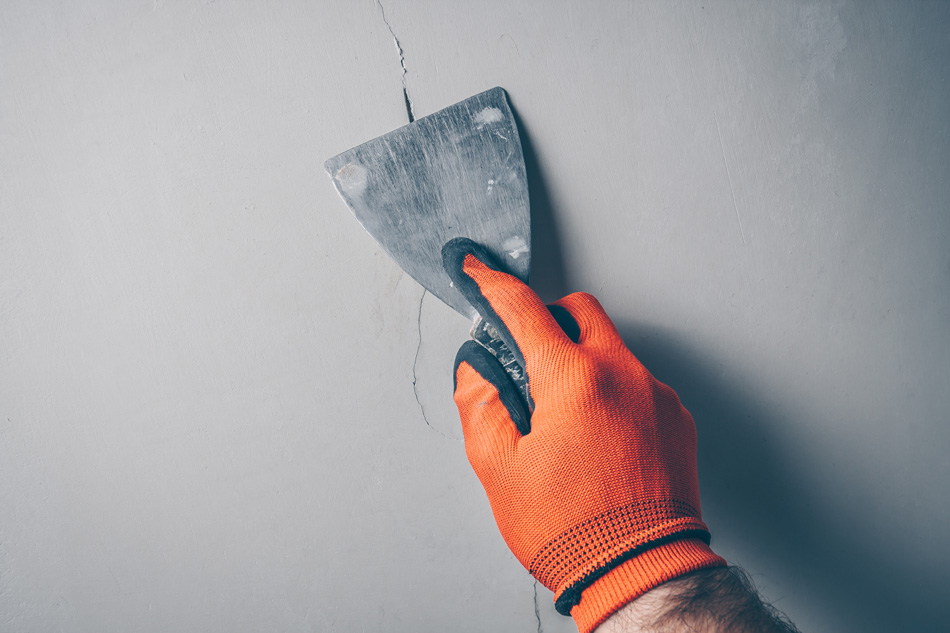
To remove cracks and touch-up a wall or ceiling, mechanically remove the cracked and flaking parts and then fill in the gaps, with a repair compound, such as Acryl-Putz LT 22 Light. Finally, smooth out the filled spots, dust off the substrate, prime the repaired gaps and paint again.
Touching-up walls – repairing small imperfections immediately after painting
Imperfections also appear when the wall was painted with a roller and an attempt was made to cover small defects with a brush. If you want to touch-up small sections of a wall or ceiling, apply paint locally, "stamping" the wall rather than running the brush over the surface.
What can be done to make sure wall or ceiling does not require touching-up after painting?
Prepare the wall properly before painting:
- Wash the substrate – you need to get rid of grime, greasy stains and other dirt. Otherwise, stains may appear after painting, or the surface will be unevenly coated. For this you can use water with some painter's soap.
- Remove mould and mildew if present.
- Prime the wall if necessary – wet a section of the wall before painting and see how quickly the moisture is absorbed. If the water is absorbed quickly and does not run down the wall in drops, use a primer.
- Even out any imperfections and remove any loose paint – you can use sandpaper to do this (dust off the substrate afterwards).

When is the best time to paint walls and ceilings?
Ambient temperatures should be between 10°C and 25°C, relative humidity should not exceed 80%. Do not paint if it is too cold, too humid or too warm.
Once you have prepared the substrate well, follow these principles when painting:
- use a suitable roller:
– synthetic pile, ideal for painting small areas and places where access is difficult using water-based paints,
– natural pile for solvent-based paints,
– approximately 10 mm long pile,
- apply the paint in different directions and finally even it out using long strokes along the whole wall or ceiling. The final strokes should be done with a light roller and in one direction,
- paint the entire wall or ceiling – do not stop painting before you have finished the entire job,
- if you are applying a lighter colour (or another intense shade) on a wall with an intense colour, first apply an intermediate coat – it should be similar to the new colour,
- do not scoop up too much paint onto the roller, but make sure that the paint is evenly distributed on the roller.
A well-prepared surface, the right tools and the right weather conditions will ensure that the painting works proceed without a hitch and that any imperfections on the painted ceiling or wall will be easily removed.

